2013 was the Year of the Beanie for me.
Okay, maybe not the whole year. Maybe just the last few months. But you would not believe how many beanies I made! The real kicker is, I’d never made beanies before (or hardly any other hats, for that matter). I mean, I’d dabbled a few times, but, scarred by a few horrific failures at the beginning of my crochet career (I was like 8), I set aside the notion of making hats and never looked back. That is, until last November when a friend commissioned me to make him a beanie. I warned him that, despite the skill portrayed by my other finished products he’d seen, I had no experience with hats. But he insisted and so I set out to create the perfect beanie.
I’m picky about my own beanies, the ones I’ve bought or otherwise acquired, and already had several non-negotiable criteria to help me shape the pattern before I ever began. It should have a nice rounded symmetry, close-fitting without being too snug. It should be long enough to cover the ears, without being so long that it goes below the eyebrows. More than anything, it should be comfy, like a gentle head hug.
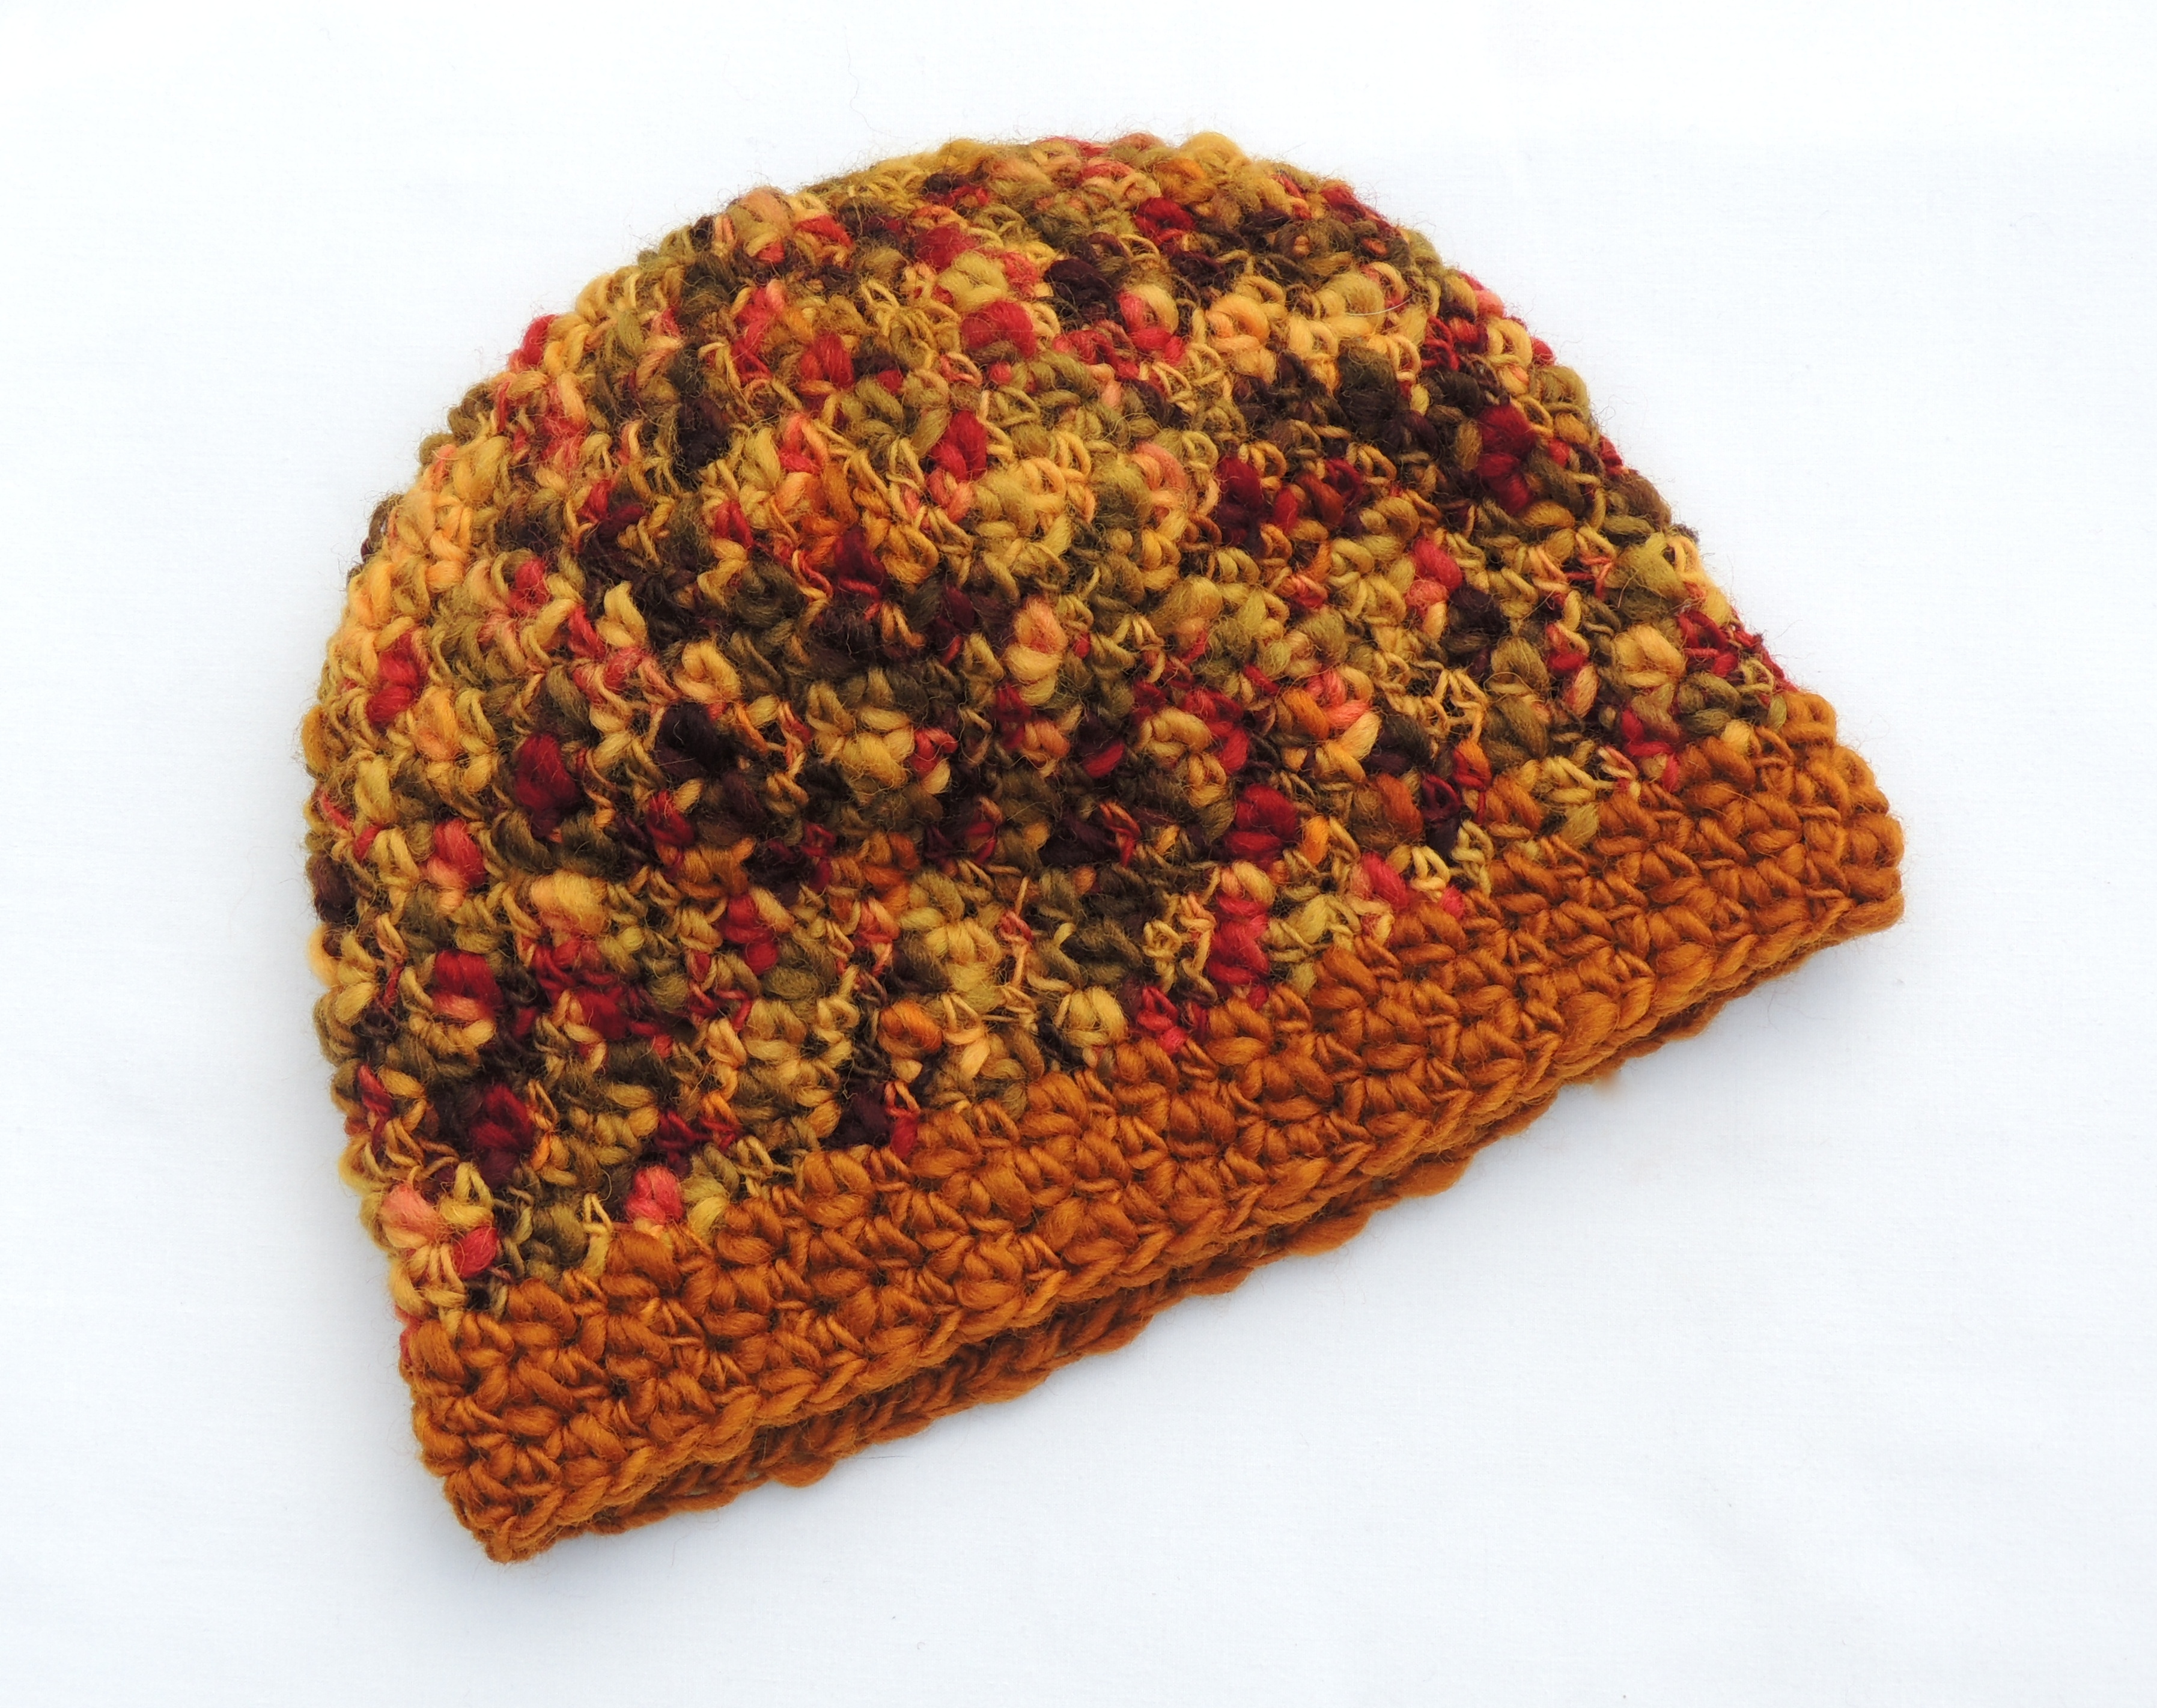
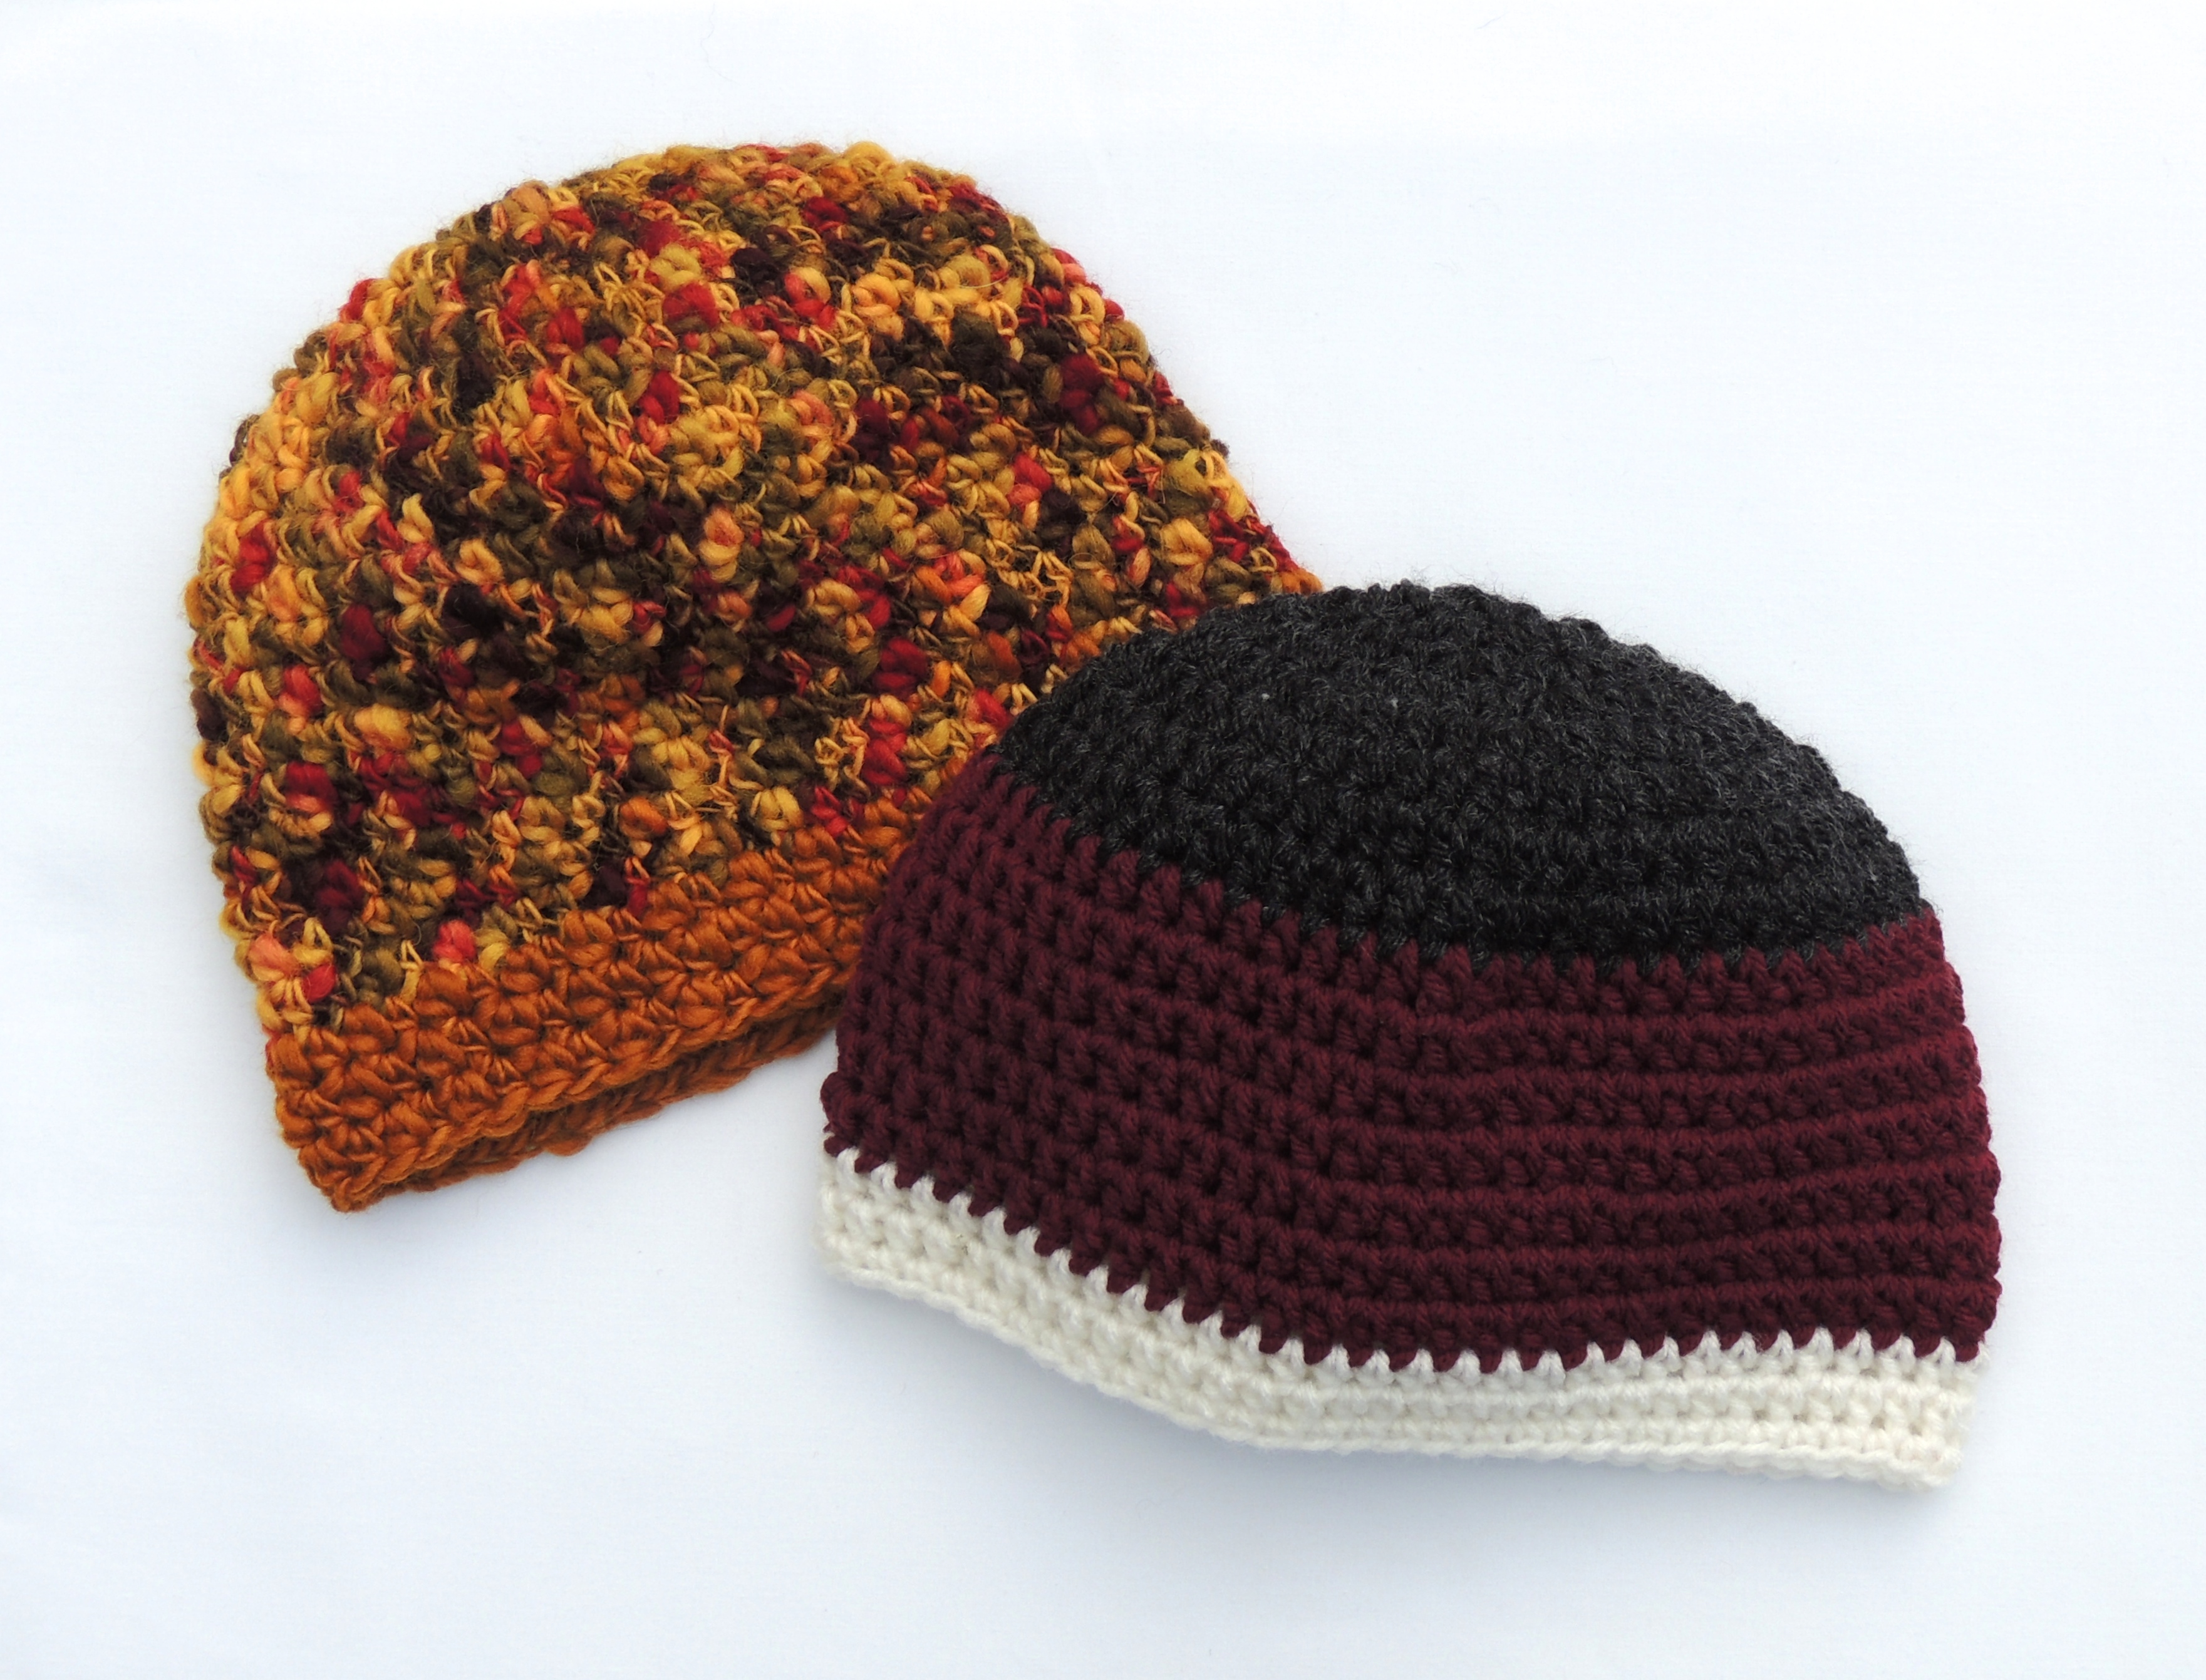
I am particularly fond of the 2-color beanie, one color for the primary bulk of the beanie and another for the band, such as the variable color/goldenrod beanie above. However, the pattern has three distinct stages, so for illustrative purposes, I crocheted a 3-color beanie (the grey/red/white one) with each color corresponding to each stage of the pattern. I thought this might be a useful planning illustration if you are determining where you might want to change colors or add stripes or what-not.

And so, without further ado, here is my perfect classic beanie.
Classic Beanie (click to download)
Skill: Beginner
Finished Size (laid flat): 10” across, 7-3/4” from rib to crown. One size fits most adults.
MATERIALS
Crochet hooks, size J and H
worsted weight yarn (category 4)
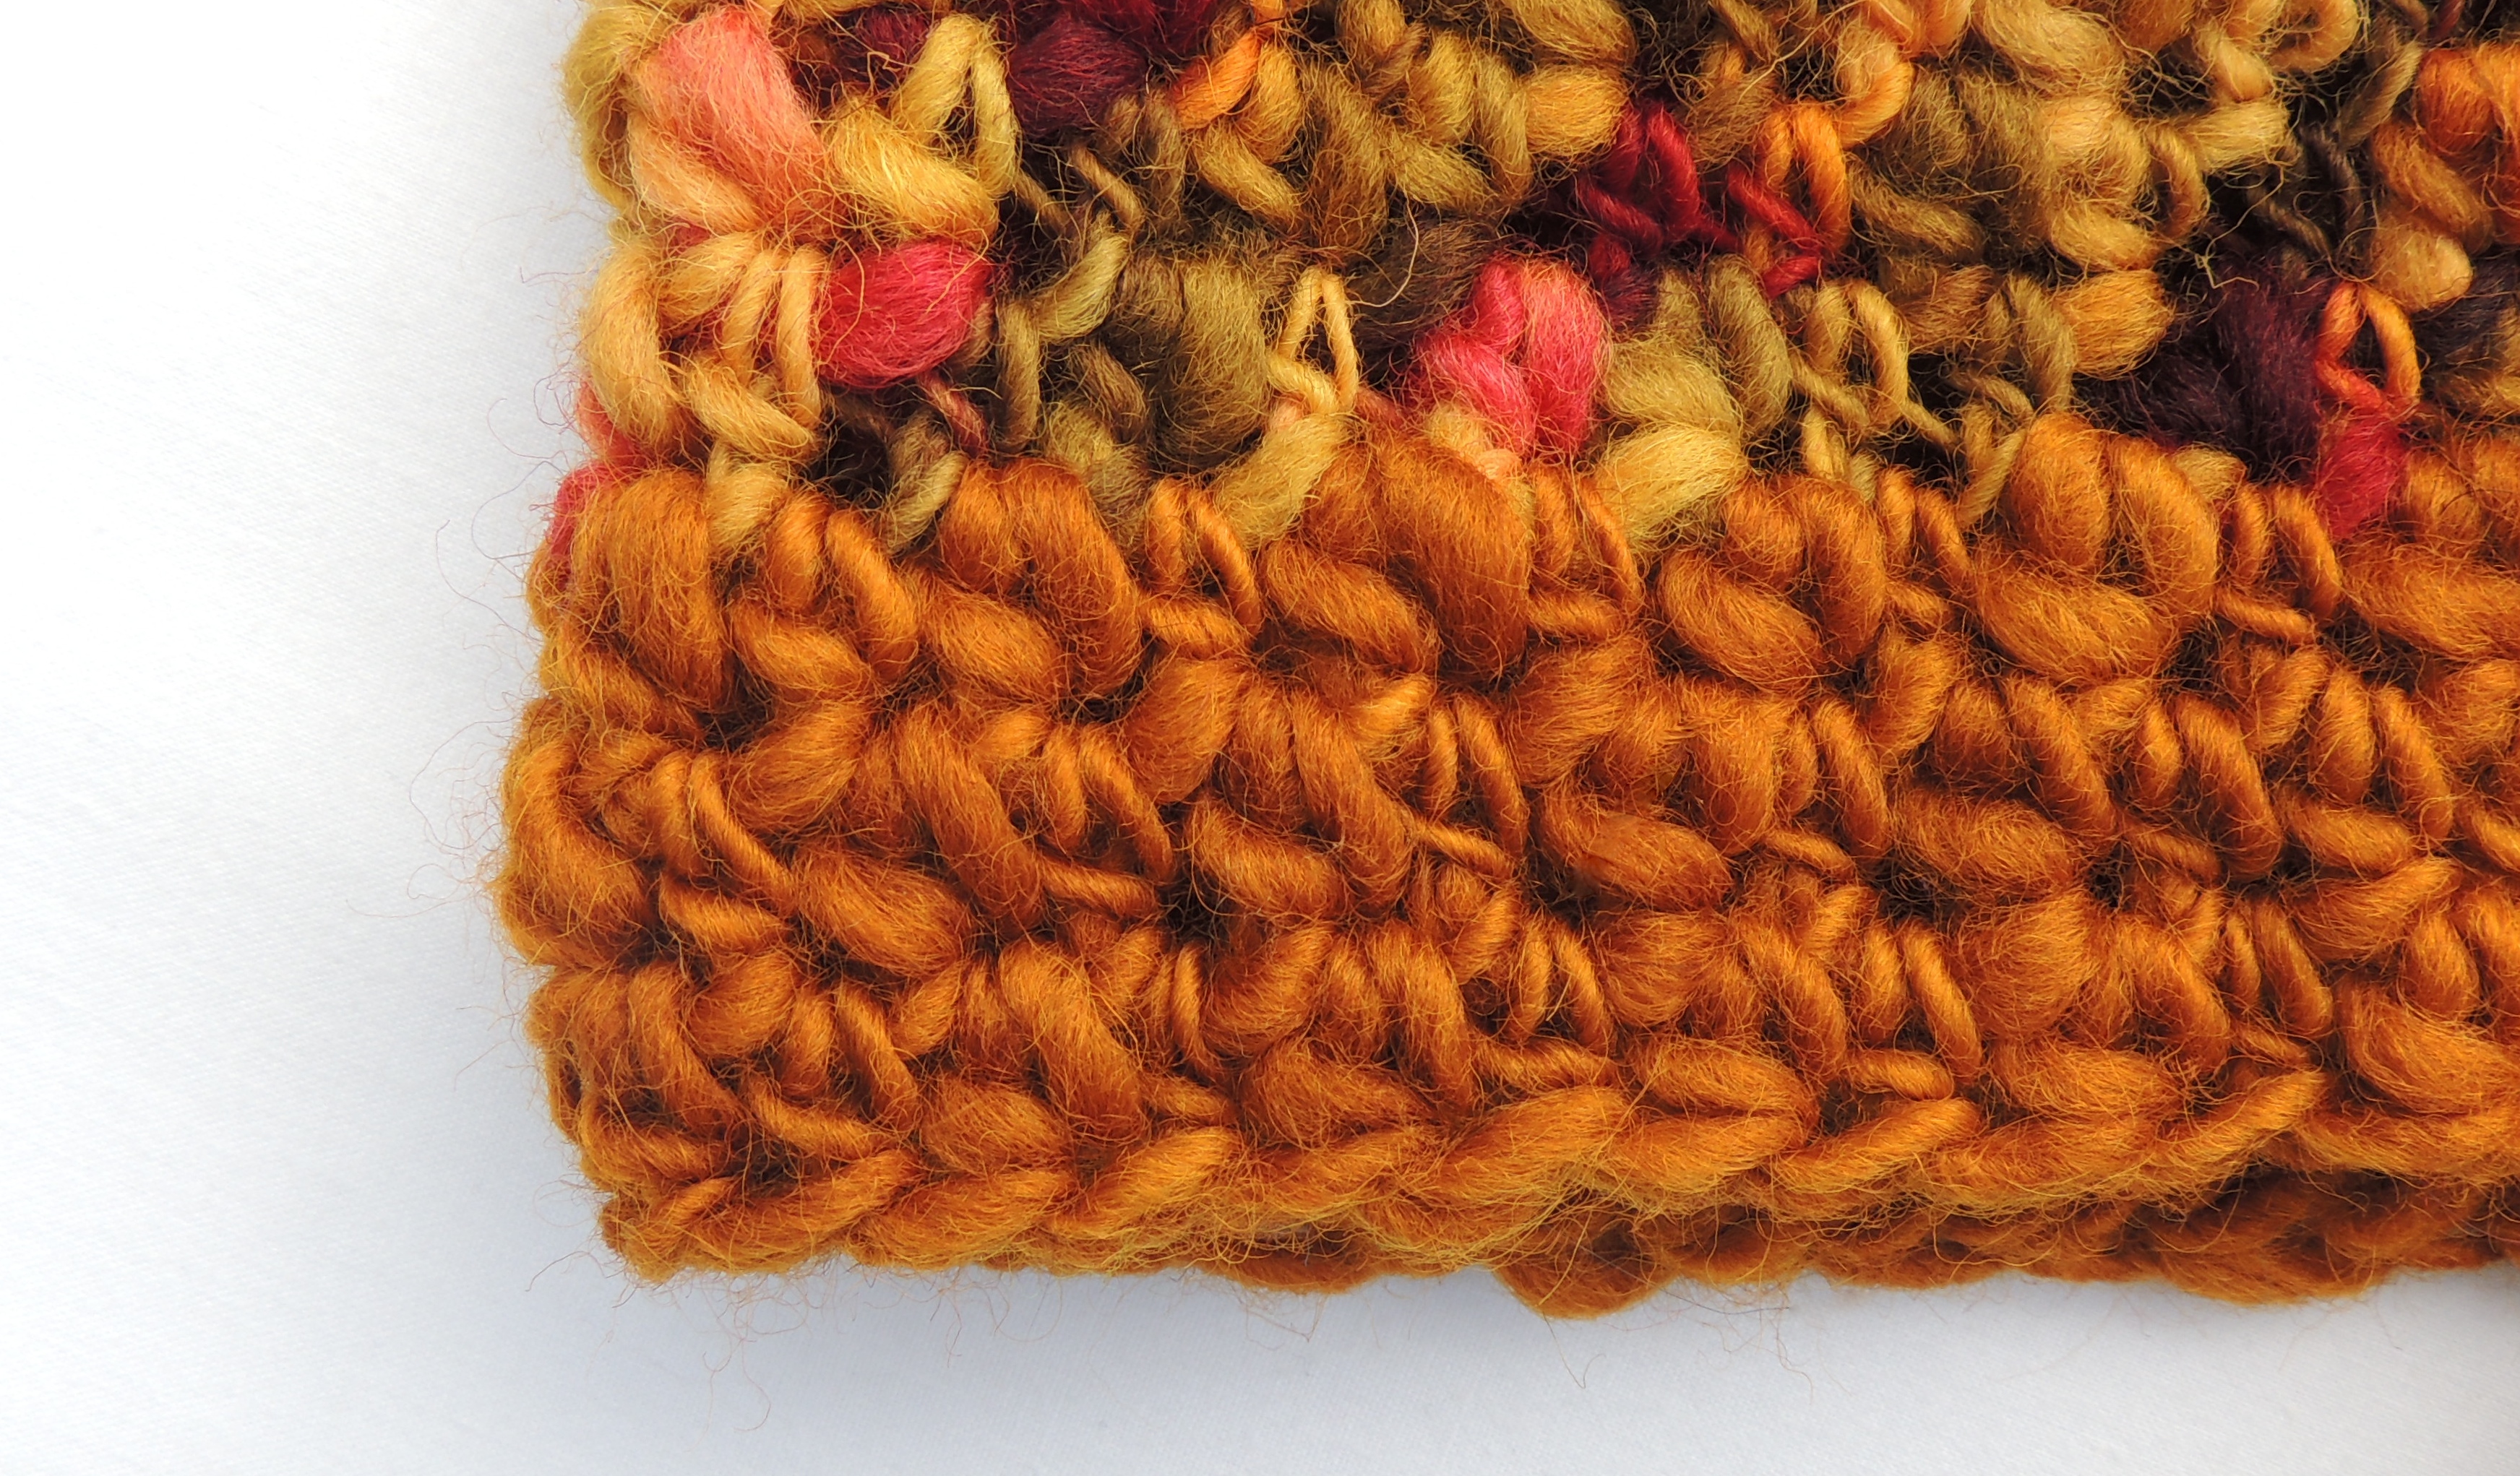
(Note: I particularly like using a single-ply or roving wool with this pattern, but any worsted weight yarn will look good.)
GAUGE:
8 hdc + 6 rows = 3 in.
CLASSIC BEANIE
Start with a Magic Ring
(If you don’t know how to make a Magic Ring, you can find out here. But what is a Magic Ring, you ask! It is the secret to starting a crochet circle without that pesky little hole in the middle. It is exactly the same as the way I learned to make my starting loop, only you don’t pull the yarn tight to form a knot. Trust me, it will change your life!)
Stage One (worked in grey in the illustrative tri-color beanie):
Row 1: Ch 1, work 8 hdc in Magic Ring. Pull loose end tight to close hole (I do this again before I weave in the ends too). Sl st in top of 1st hdc. (8 hdc)
Row 2: Ch 1, work 2 hdc in each st around. Sl St in top of first hdc. (16 hdc)
Row 3: Ch 1, *work 2 hdc in same st, 1 hdc in next st, repeat from *. Sl st in top of first hdc. (24 hdc)
Row 4: Ch 1, *work 2 hdc in same st, 1 hdc in each of the next 2 sts, repeat from *. Sl st in top of first hdc. (32 hdc)
Row 5: Ch 1, *work 2 hdc in same st, 1 hdc in each of the next 3 sts, repeat from *. Sl st in top of first hdc. (40 hdc)
Row 6: Ch 1, *work 2 hdc in same st, 1 hdc in each of the next 4 sts, repeat from *. Sl st in top of first hdc. (48 hdc)
Row 7: Ch 1, *work 2 hdc in same st, 1 hdc in each of the next 4 sts, 2 hdc in next st, 1 hdc in each of the next 5 sts, repeat from * three more times, 2 hdc in next st, 1 hdc in each of the next 3 sts. Sl st in top of first hdc. (57 hdc)
Row 8: Ch 1, *work 2 hdc in same st, 1 hdc in each of the next 18 sts, repeat from *. Sl st in top of first hdc. (60 hdc)
Stage 2 (worked in red in the tri-color beanie):
Row 9: Ch 1, work 1 hdc in same st and in each st around. Sl St in top of first hdc. (60 hdc)
Row 10-15: Repeat row 8.
Stage 3 (worked in white in the tri-color beanie pic):
Row 16-17 (or until desired length): Switch to H-hook and Color C (white). Repeat row 8.
Row 18: Ch 1, work 1 sc in same st and in each st around. Sl St in first sc. (60 sc)
Fasten off. Weave in ends.
If you have any questions or feedback about this pattern, please feel free to leave a comment and I will get right back to you. Also, I would love to see what you make! Please feel free to post pictures of your own creations in the comments or on the Tincture Craft Facebook page.